How To Frame A Needlepoint Canvas
Follow our step-by-step guide on how to frame a needlepoint canvas using a Poppy Monk square white wooden frame. This same process also works for our rectangle frame as well as other store-bought frames for displaying needlepoint.

Step 1

Block your needlepoint canvas so the sides are straight and parallel. Read this blog post for some handy tricks and tools to help you block a needlepoint canvas.
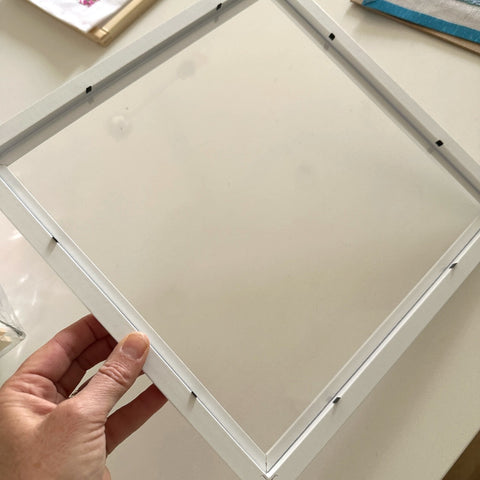
Step 2.

Remove the backing board by raising the metal tabs. The square needlepoint canvas frame has a pull tab you can use to lift out the backing board.
Step 3.
Remove the protective film from both sides of the plexiglass.

The image above shows the film on the rectangle frame and the image below shows the pull tab to remove the film from the square frame.

Step 4
Re-insert the plexiglass into the frame.
Step 5

Insert the mat board into the frame.
If you are using the rectangle frame insert only the larger mat for a 5" x 7" needlepoint, or insert both mats for a 4" x 6" needlepoint.

The image above shows the rectangle frame with one mat board for a 5" x 7" needlepoint, and the image below shows the frame with two layered mat boards, for a 4" x 6" needlepoint.

Step 6.

Place the needlepoint, right side down, into the frame, and line it up with the opening so it is straight and the most important features are showing. When you are satisfied with the alignment, tape it in place.
The image below shows this step before the mat board is placed in the frame. Checking at this stage ensures the needlepoint fits the opening

Step 7
Re-insert the backing board and re-fold the metal tabs.

Check that everything looks good from the front before you hang the frame.
Step 8.

This hook goes this way up.

Place your own hook, or the hook provided with this frame in the wall. The hook provided with the Poppy Monk needlepoint frame may look like one of the above (we can't seem to always source the same hook!) Use a hammer to insert the prongs into the wall) so you can hang it like so...

Or if it's the other hook, like this...

Instead of a hook you may have a steel nail like this...
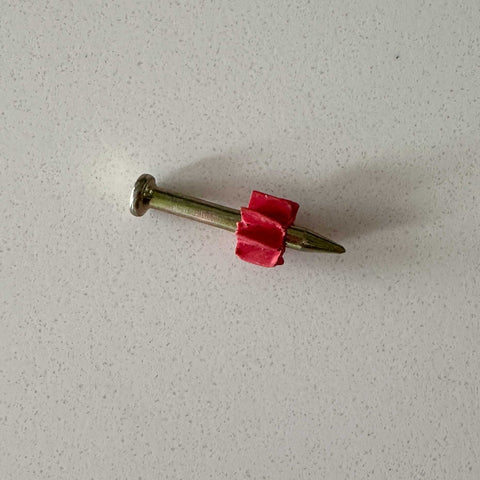
Use a hammer to insert the nail into the wall up to the red band, then remove the red rubber band (it can be taken off using your fingers).
Step back and admire your masterpiece before stitching your next Poppy Monk needlepoint design.


